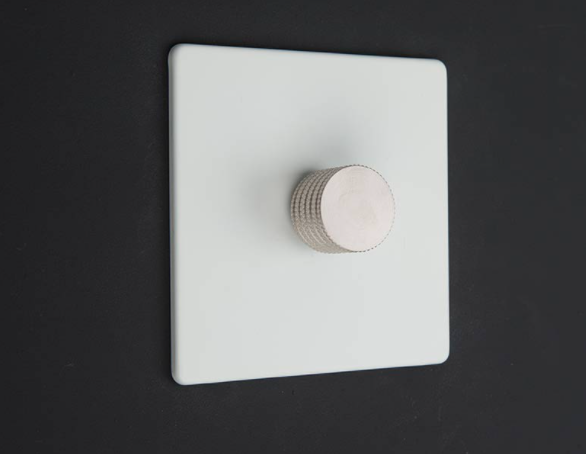
Rather than just turning your lights off and on, why not get yourself a choice of light options by installing a dimmer switch? Majority of the dimmers that you find these days will fit inside a basic wall box opening and hence it becomes easier to replace the main switch for any halogen light or incandescent light with a dimmer.

If you don’t know how to install a dimmer switch, this guide is for you.
CHOOSING A DIMMER SWITCH
Before you learn the installation process of a dimmer switch, you should know how to buy one that gives the exact amount of lighting saves energy and saves on costs. Here are few things to know.
-
Know the type of light you need
Dimmers are categorized for their specific light types. Choosing the wrong dimmer would mean flickering lights. If you want to use the dimmer on an LED bulb, the dimmer should be an LED one and LED runs on DC current.
Most LED bulbs are more compatible with smart dimmers. Dimmer switches aren’t compatible with all fluorescent lights and hence double check before buying.
-
Choose the number of switches
Dimmers are available in basically two configurations of wiring – standard single-pole dimmers and 3-way dimmers. With the former, the switch only controls the light and with the latter, you control a light with 2 different switches. You therefore get a chance to dim from one location and again turn the lights off and on from another location.
-
Number of bulbs
Know the total number of lights that you’ll be connecting with the dimmer switch and make a sum of their wattage. Don’t forget to check its rating on the switch that you select to make sure it can hold the wattage that you need.
There are times when the dimmer switches are not able to replace the standard switches. For example, the ordinary dimmer switches aren’t used with ceiling fans or fluorescent lights.
This is because the fluctuations in the level of current may burn the motor. Hence, you have to consider all the required factors while wiring a dimmer switch.
TURN OFF TO REMOVE THE PREVIOUS SWITCH
- Turn off power at the box of circuit breaker and double check whether the power is off.
- Use a screwdriver to remove the current wall plate along with the screws.
- Pull off the switch gently from the wall. Leave the bundle of white wires at the back of the wall box.
- In case of a three-way switch, connect one wire to a screw which has a different color. Remember that this is different from the wire attached to the green screw.
- Disconnect all the wires linked with the old switch.
CONNECT THE NEW DIMMER SWITCH
- In case the wires are bent, make use of a wire stripper to eliminate the twisted ends.
- Connect the ground wire from the new dimmer to a green copper wire. Twist the ends and cap them with a connector nut.
- Connect each wire of the dimmer to the main house wire by holding the wire ends with a pair of pliers and twist them. The wires from the dimmer will be black.
REPLACE THE WALL PLATE
- Tuck the wires back into the electrical outlet box.
- Tighten the screws that hold the dimmer with the box.
- In case you install a dimmer that has a removable knob, remove the knob by pulling it before you finally attack a wall plate.
- Tighten the screws which hold the wall plate and if you use a wall plate that has a screwless design, screw the adapter with the dimmer and snap it on to the adapter.
TURN ON THE POWER
- As you successfully install the wall plate, you need to return to the circuit breaker and again turn on the power.
- Test the dimmer switch to ensure that it’s working as expected.
So, if you’ve been looking forward to wiring a dimmer switch and installing it, you should take into account all the above mentioned factors and steps. Try your best to be cautious enough while installing the lights so that you don’t fall prey to any electrical hazards.
Leave a Reply